
I absolutely love to shoot in RAW format. The control it gives me in post production is a wonderful feeling. In fact, it’s magical.
When I first started photography, I didn’t understand what Raw files were, nor did I know how to set my camera to shoot in Raw format. But when I finally took the time to learn it, I loved it instantly. I think you will, too.
Perhaps you feel the way I did, that it’s a bit daunting, like stepping into an unknown field. If so work with me here: I promise you that you will love how it improves your photography. 🙂
It can be intimidating to try new things. So much of what photographers do is technical and can be complicated to learn. Fearing failure, we stick to what we know.

Learning photography is like learning to ride a car or bicycle. It´s such a challenge when you first begin because there are so may details and things to remember. But then all of a sudden—WOW—you ride your bike or you drive that car and it seems like the easiest thing in the world! It’s the same with photography.


Just take it one step at a time and you’ll be fine.
Be patient with yourself. Don’t fear failure, because failure dosen´t actually exist. With each step you take, you are growing and learning—no matter the outcome and no matter how long it takes to learn a new skill.
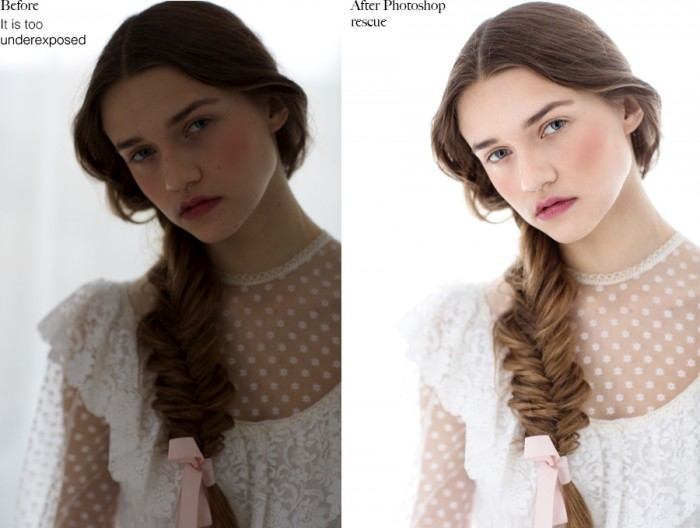
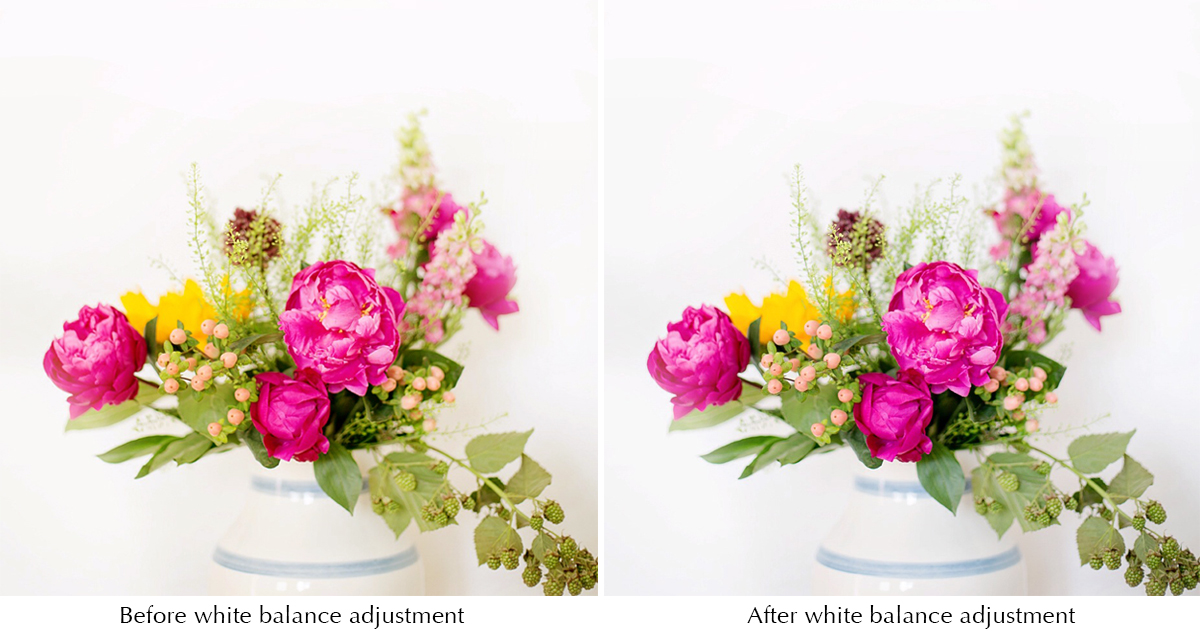
Image: The before and after image below shows just how helpful and powerful shooting in Raw can be. You can truly rescue a photo which was not lit well.
Making The Switch From JPEG To RAW
If you want to see more detailed images, and have the versatility and creative control of the editing then taking photographs in Raw can be very rewarding, especially once you see the end results.
If you love to shoot Jpeg and are happy with your results, then that’s awesome. Continue with what you’re doing, because shooting in Raw will make your workflow take a little longer. But if you secretly dream of improving your photos, why not give Raw a chance?


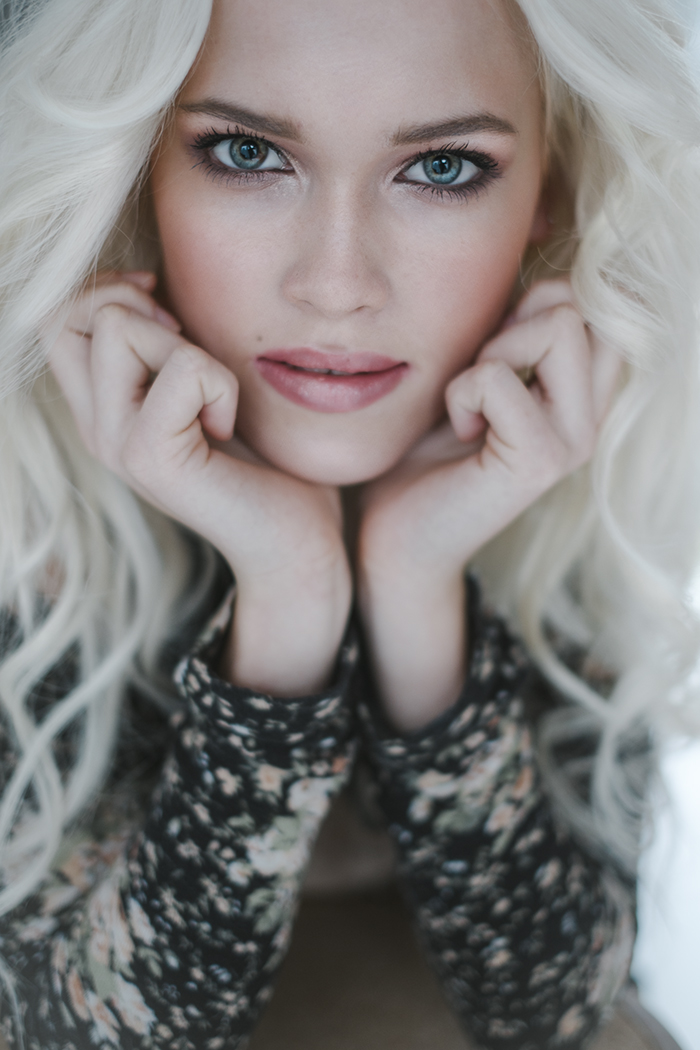
If you are a portrait photographer then shooting in Raw is a definitely a good thing. To do professional retouching you need to work on a Raw file for the optimal results.
Changing to Raw will not be an instant magic pill, which suddenly gives you state-of-the-art photos. It will take a little time to get it it right. As with everything, patience and practice makes perfect. 🙂
The Major Benefits Of Shooting In RAW
As a photographer you should always aim to “get it right in camera.” As a self-taught photographer I know that this can be difficult at first. This is why shooting in Raw is essential.
You get a second chance to get it right—first chance when you take the picture; second chance when you edit the picture inside the Raw converter.
Which is really helpful when you are still learning to nail the perfect exposure! If you over-exposed or under-exposed your photo, you will be able to recover details and rescue what, otherwise, may be lost. In other words, you can make a decent photo out of a not-so-decent one, which is fantastic.
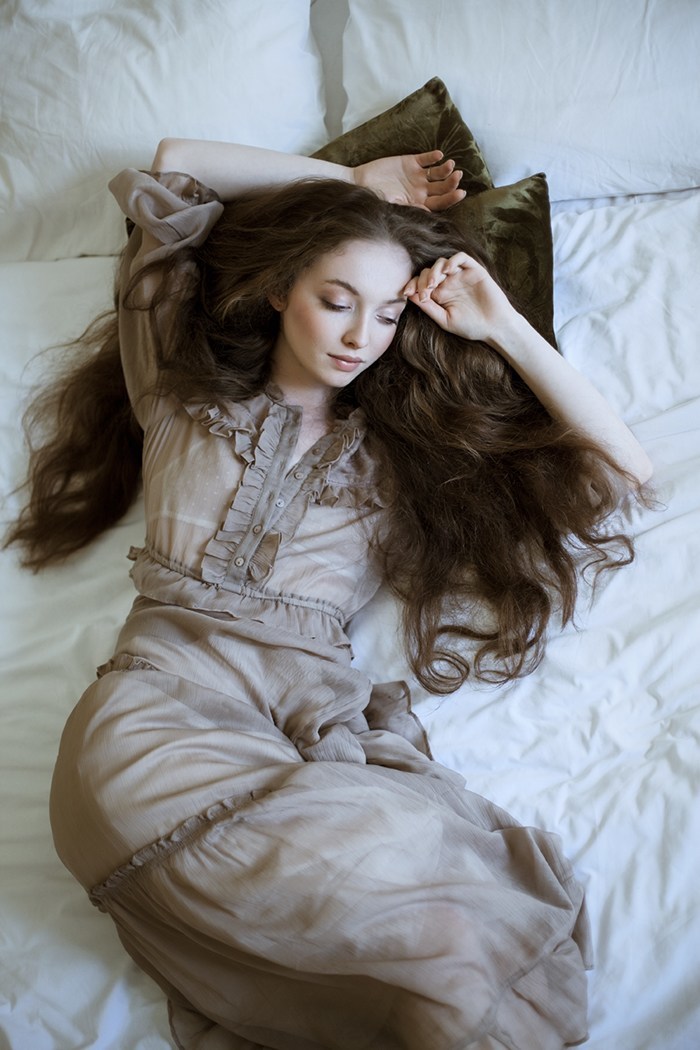

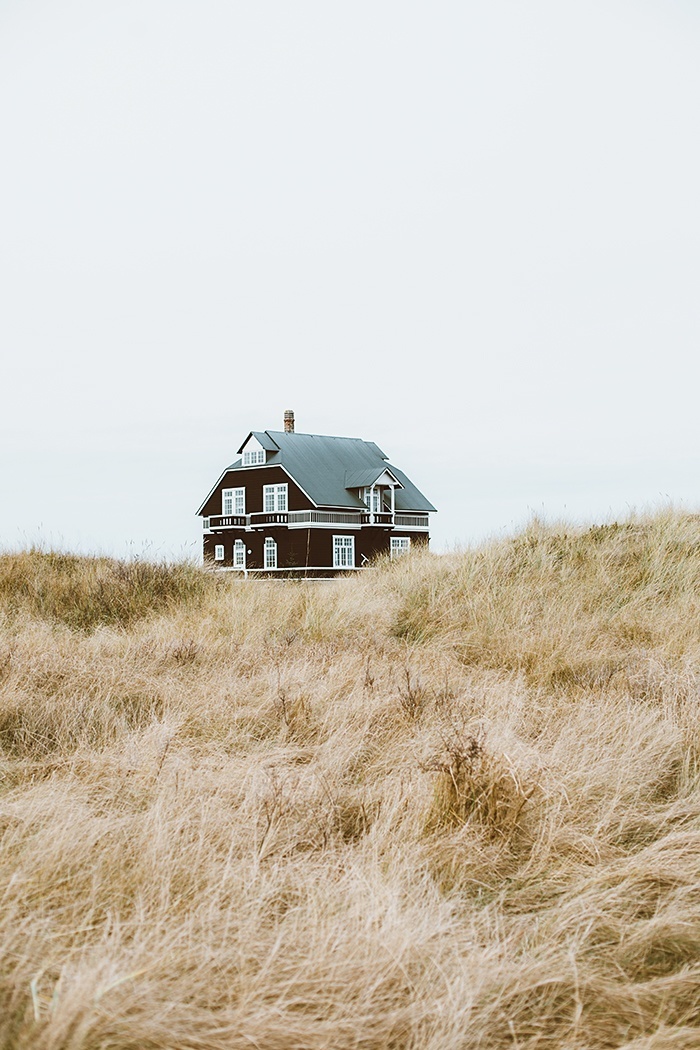
Image: The image below shows how you are able to restore details and highlights that are overexposed – as long as you shoot in Raw you can do this.
When shooting in Raw, you no longer need to worry about your white balance. Say, for example, you take a photo of your family during an evening when everyone is gathered around the dinner table. There’s not much day light available so all the artificial lights in the house are turned on. There may even be candles lit.

When you look at the back of your camera the photo appears to have a yellow tone. This yellow light comes from the lamps that are surrounding you. What happens is that the light from the lamps interferes with the available light in the room.
It’s not very attractive, so here’s the main reason you will love Raw files: they’re easy to fix and you can make changes without damaging the photo file.
Raw editing is simply non-destructive, unlike a Jpeg file in which any changes made to the image are permanent. What’s great about a Raw file is that you can never destroy it, no matter how many changes you make. And you can go back to a specific photo at any time and re-process it over and over again.

Raw files tend to be dull and boring straight out of the camera. It’s because they are not finished inside the camera as Jpegs are.
You will need to finish it on your computer, which is beneficial: it will give you control over the final image output.
The richness, sharpness, color range and ability to adjust these settings end up being so much greater with a Raw file, even if a Raw file looks dull before processing.
Shooting Raw Is Helpful When:
- You shoot portraits. To ensure professional retouching without losing image quality.
- You risk blown out highlights. For example, you shoot outside on a bright sunny day and the sky turns out white. In a Raw file, you can often restore details and highlights that are overexposed.
- The white balance is off and your photo is affected by sourroundings that are interfering with the available light. This can make your photos look yellow or green.
- You are going to enlarge the photo and print it in a big size. With Raw you never have to worry about loss of quality.
Positive Attributes of JPEGs
If you just need to take everyday snapshots, such as pictures of your kids’ school play, your grandma’s birthday or shoes you want to sell on ebay.
If you are a blogger and post many photos on a daily basis, Jpeg can give you a fast and easy workflow.
Jpeg is also great if you need to email photos or post them to Facebook without much hassle. Whenever you need to process photos quickly, and the quality is less important, then Jpeg is perfectly fine.
But if you shoot fine art, fashion, portraits—photos that clients are paying for—it’s time to shift into Raw mode to upgrade your image quality.
JPEG VS RAW: What Are The Differences?
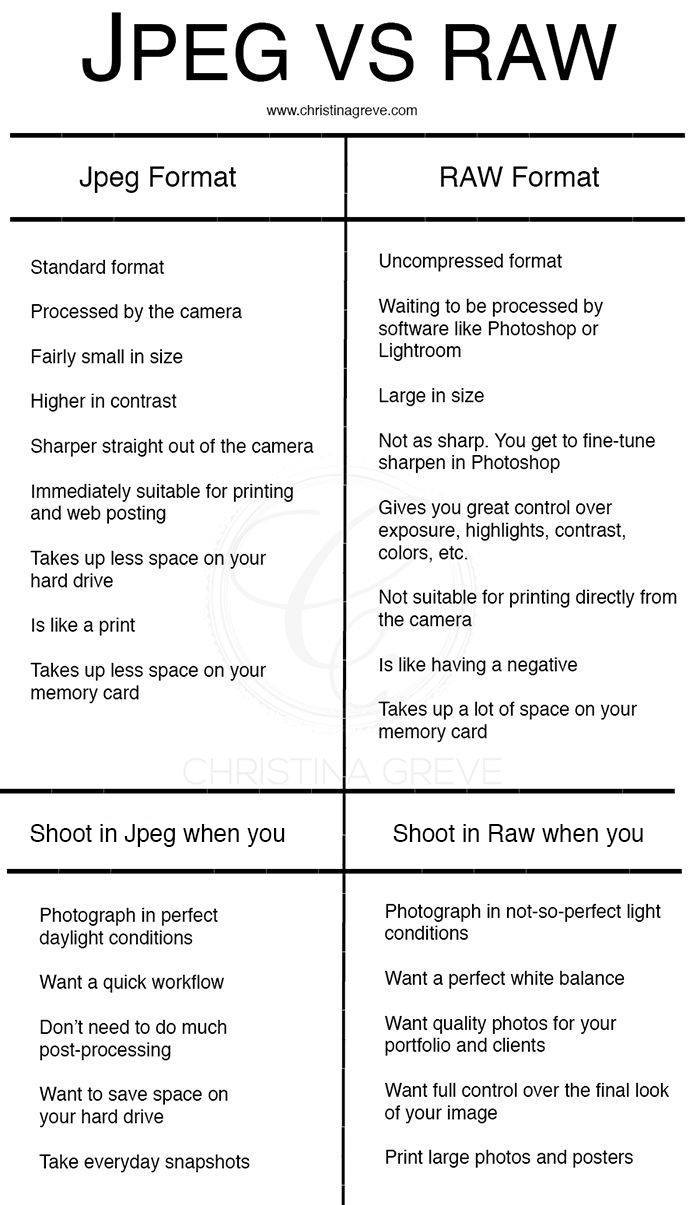

JPEG:
- Standard format
- Processed by the camera
- Fairly small in size
- Higher in contrast
- Sharper straight out of the camera
- Immediately suitable for printing and web posting
- Takes up less space on your hard drive
- Is like a print
- Takes up less space on your memory card
Shoot in Jpeg when you:
- Photograph in perfect daylight conditions
- Want a quick workflow
- Don’t need to do much post-processing
- Want to save space on your hard drive
- Take everyday snapshots
RAW:
- Uncompressed format
- Waiting to be processed by software like Photoshop or Lightroom
- Large in size
- Not as sharp. You get to fine-tune sharpen in Photoshop
- Gives you great control over exposure, highlights, contrast, colors, etc.
- Not suitable for printing directly from the camera
- Is like having a negative
- Takes up a lot of space on your memory card
Shoot in RAW when you:
- Photograph in not-so-perfect light conditions
- Want a perfect white balance
- Want quality photos for your portfolio and clients
- Want full control over the final look of your image
- Print large photos and posters
Organizing & Storing RAW Files
There are some downsides to shooting in Raw:
- The files are much bigger
- There is no standard Raw format
- Every camera manufacturer has its own format
- Raw takes longer for the camera to write, which decreases the FPS (frames per second)
- Most software has to be updated to support the latest cameras.
- When you’re shooting Raw, the camera has a larger amount of data to process so there will be more megabytes to save to the memory card. (Shooting in jpeg will allow you to capture 2 or 3 times more images.) This also means that the images will take up much more space on your computer.
What you can do
The best thing you can do is to buy an external hard drive. Personally, I don´t want my Raw files stored on my computer because they quickly take up all the space, and the computer slows down and can make software programs like Photoshop crash while being used.
When I upload Raw images to the computer after a photoshoot I immediately transfer them to an external hard disk.
As soon as I have backed up all the pictures, I delete them from my computer, leaving my computer fresh, clean and fast. 🙂


What Kind of Software to Use
When you shoot in RAW you’re using computer software to convert your images. It’s similar to taking a negative into the darkroom.
You´ll need to use the software that came with your camera, or you could use a software such as Adobe photoshop CC, photoshop elements or Lightroom.
6 Easy Steps to Start Shooting in RAW


1. Set your camera to Raw. In camera settings click on quality (Canon) and choose Raw. If you can´t find it, grab your camera manual and look for Raw.
2. Take a few pictures with your camera in Raw mode.
3. Connect your camera to your computer and upload the photos.
4. Pick a photo you wish to work on and open it up in Photoshop. When you upload a RAW file into Photoshop the Raw converter program will automatically open up. The Raw converter program comes free with Photoshop and Photoshop Elements. If you don’t have Photoshop you can use Lightroom.
5. Inside the Raw converter play with the sliders to the right side. Each slider control a specific adjustment like exposure, contrast, brightness, color tones, shadows, saturation. This is where you get to finish your Raw file. It’s sort of like being inside a darkroom working on a negative. You can adjust so many things inside Camera Raw, but as a beginner this is enough to familiarize yourself with this part of the program.
6. When you are happy with the result, you can now use the image in Photoshop to make final adjustments. To bring your photo into Photoshop, simply click on “Open Image” down in the right-hand corner. In Photoshop you can choose to do even more adjustments and/or save it as a JPEG file.


That’s it! I hope you are inspired to try shooting in RAW 🙂
Much Love,