

If you’ve wondered how to create a matte effect in Lightroom or Photoshop, this tutorial is for you. Today, I will show you how to achieve a beautiful Matte Effect in just two easy steps.
The matte effect is a fun and stylish way to transform your photos. Especially if you want your photo to have a more moody, dreamy and artistic look.
The secret to creating the matte effect is using the CURVE TOOL. Whether you use Lightroom or Photoshop you can find the curve tool inside the editing software.
The curve tool is one of the most powerful editing tools available. You can create so many styles with just this one tool but today we will focus on creating the matte effect.
So let’s get started.
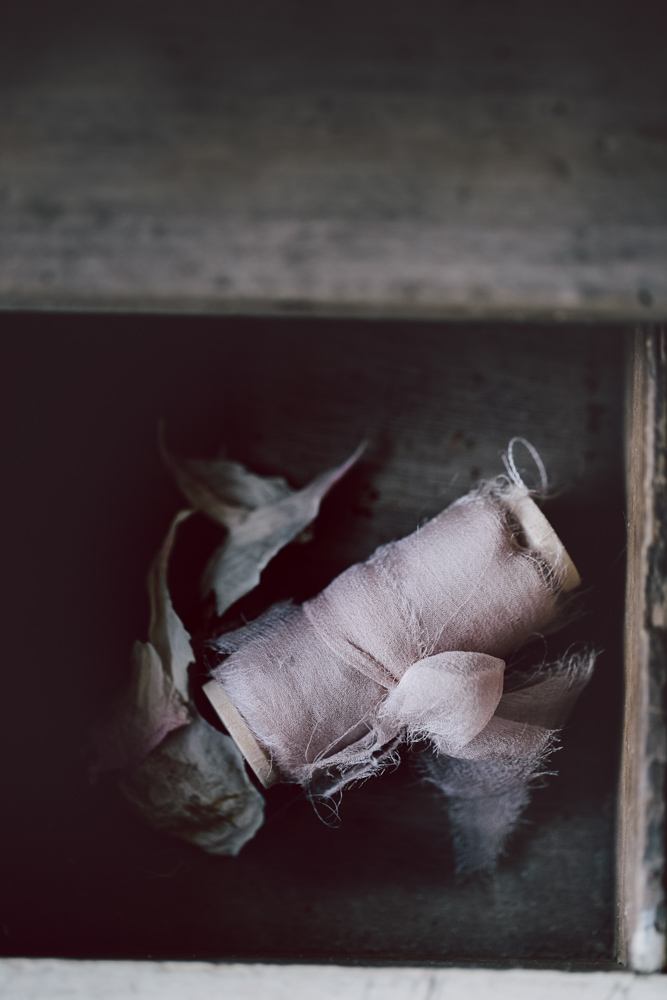
How To Achieve A Beautiful Matte Effect In Just Two Easy Steps
Before you start playing wit the matte effect, I recommend that you do some basic editing to your photo and then let the matte effect be your final step in the editing process.
Adjust exposure, saturation, contrast, vibrance, clarity, and the white balance. When you are happy with your image proceed with the curve tool to add the matte effect.
To get started with the matte effect open up the curve box and follow the instructions shown in the images below.
How To Create The Matte Effect In Photoshop


How To Create The Matte Effect In Lightroom


You might find that the matte effect works better for some photos and not so well for others. The only way to find out is to experiment and be playful.
And remember; when you work with the curve tool “a little goes a long way”. You only have to do a small pull on the curve to get a huge effect.